 568k
568k  233k
233k  41k
41k  Subscribe
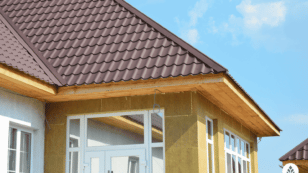
Roof Installation Process (What Homeowners Should Expect 2024)
You’ve signed the contract for your new roof and have picked the installation date, but now what? For many homeowners, the installation process is largely a mystery, but with this guide, you’ll know exactly what to expect when it comes time for the installation of your new roof.
Each product and or company featured here has been independently selected by the writer. You can learn more about our review methodology here. If you make a purchase using the links included, we may earn commission.
At EcoWatch, our goal is to take the stress out of your home improvement project. This EcoWatch guide to sustainable roofing has helped thousands of homeowners like you understand the roof installation process from start to finish.
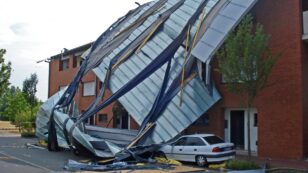
Whether you’ve decided to replace your roof due to age or because a severe storm rolled through and caused significant damage, this guide to the roof installation process can help you understand what to expect and when.
Expert Advice on Roof Installation
The EcoWatch team asked a number of experts on what homeowners need to know when it comes to installing a new roof. Below are their answers.
What can homeowners expect during the roof installation process?
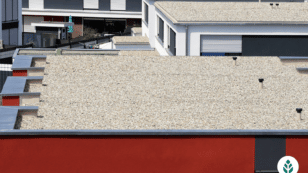
The roofing material is bought, delivered, unloaded, and placed in a designated area. A starter strip of roofing material is applied to the roof.. Additional roofing material is applied to the roof, overlapping the starter strip. Excess roofing material is trimmed with a power saw and a utility knife. The finished roof is cleaned and inspected for quality assurance purposes.
Should You Do Anything Before Roof Installation Day?
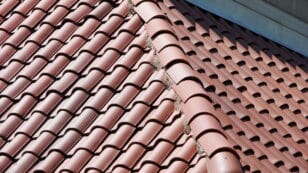
Prior to having a contractor install a new roof, you both will need to discuss what material is the best fit for your home and personal preferences. But because there are many types of roofing material, this is often easier said than done. No longer do homeowners only have the choice of traditional asphalt shingle roofing — they now have access to metal roofing, wood shakes, clay tiles and many more options.
For many homeowners, the decision to go with one material over another happens after they contact a qualified roofing company. However, Todd Miller, roofing industry expert and president of one of the world’s leading metal roofing manufacturers, recommends that homeowners choose the material they want before they contact a roofing contractor:1
“I strongly suggest using the internet to choose the product you like first. Then go to the manufacturer of that product and ask who they suggest as a local contractor/installer. Otherwise, you will get the product that a local contractor wants you to have, not the product you want to have.”
Regardless of when you choose a roofing material, you always need to define your decision criteria to make sure the roof material you select matches your needs. Miller advises that homeowners should consider their long- and short-term timelines, local climate, appearance preferences, potential for severe weather, energy efficiency needs, and environmental values such as recyclability before landing on a type of roof material.
For instance, homeowners interested in energy efficiency and recyclable materials may opt for aluminum metal roofing, which is up to 95% recyclable and reflects light away from your roof. But homeowners who want a quick fix because they’re planning to sell their home may opt for asphalt shingles since these are lower in price.
Our Favorite Roofing Contractors
When it comes to new roof installation, quality matters. For that reason, you need licensed and reputable professional roofing contractors to get the job done right. Our recommended roofing companies are the best in the industry, so click below to get started on your roofing project.

Power Home
Best Overall
Average cost
Pros
- Positive industry reputation
- Lifetime or lengthy warranty
- 10+ years of experience
- Positive customer reviews
- Uses eco-friendly materials
- Well-trained, certified installers
- Variety of roofing styles available
Cons
- Limited variety of roofing materials
- Short or nonexistent warranty
- No financing information available
- Expensive
- Little information available on company website
Erie Home
Best for New Roofs
Zero Down - 18 months same as cash with minimum monthly payment
Average cost
Pros
- Lifetime or lengthy warranty
- Widespread availability
- 10+ years of experience
- Positive customer reviews
- Uses eco-friendly materials
- Financing options available
- Well-trained, certified installers
- Uses durable materials meant to last
- Variety of roofing styles available
Cons
- Limited variety of roofing materials
- Expensive
Aspen Contracting
Most Eco-Friendly
Average cost
Pros
- Positive industry reputation
- Lifetime or lengthy warranty
- Widespread availability
- 10+ years of experience
- Positive customer reviews
- Financing options available
Cons
- Little information available on company website
Getting Ready for the First Day of Your Roofing Project
As a homeowner, you don’t have too much to do to prepare for roof installation day. But there are a few things you can do to make the process go as smoothly as possible. To get ready for your new roof installation, make sure you:
- Move all cars out of the driveway to make room for the dumpster (if you’re having your old roof removed) and roofing equipment
- Lay tarps over landscaping or areas you don’t wish to be impacted
- Put away patio furniture, cover outdoor accessories and take down anything that affects your roof’s accessibility
- Work with your roofer to lay down tarps on which to place any old roofing material to be removed
- Let your neighbors know about your upcoming project
- Take any pets that may become stressed due to the noise to an alternative location
- Find a place to work elsewhere if you work remotely
Key Questions to Ask Your Roofer Before the Installation Process
Your new roof is a big deal, so you want to make sure the roofer you choose is up to the task. You’re free to choose the contractor that offers you the best price for your project, but before you settle on a roofer and sign a contract based on price alone, there are some important questions to answer.
As you gather quotes and talk to different contractors, be sure to ask the following questions:
- Is your company licensed and insured?
- How many years has your company been in business? How long have you been installing (your chosen type of) roofing material?
- What sets your company apart from others in the area?
- What can I expect about how the roofing process will go?
- Do you offer any financial incentives or financing options?
Also, don’t be afraid to compare quotes and let your contractor candidates know that you have other competitive offers.

Should You Do Anything After Roof Installation Day?
Make sure you have your paperwork in order from the contractors, that payments went through and that you submitted all necessary documents with your insurance company if that is how you financed your roof replacement.
How Long Does The Roof Installation Process Take?
The time it takes to install your roof from start to finish is typically one to three days. This timeline can vary, but it mostly depends on the size and complexity of your roof, whether your old roof needs to be removed, and the material you’ve chosen for your new roof.
Each roof is a bit different, so the best way to get an accurate time estimate is to talk to your contractor.
Roof Installation Process (8 Steps)
Now that we’ve covered the basics, here’s what you can expect your roofer to do during a traditional roof replacement job.
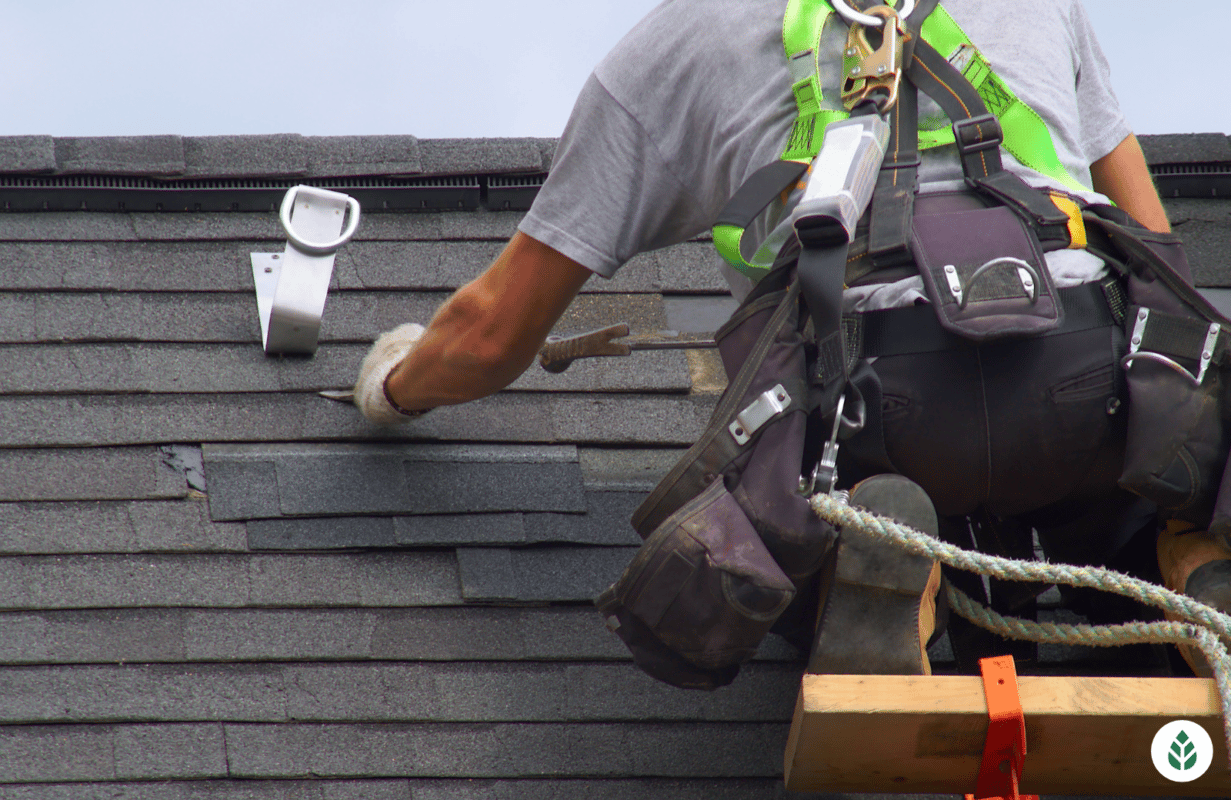
Step 1: Remove Old Roofing Material (Or Not)
In some cases, you’ll need to have your old roof removed before the new one can be installed. If your roofer can avoid it, however, they likely will because it saves time. It’s also more eco-friendly because your old roof won’t just be consigned to the landfill.
Not having to remove your old roof will also save you money, but if you already have two or more layers of asphalt roofing, you will need to pay to have it removed. Other reasons to remove your old roof include:
- Your have roof rot or water damage
- Local building codes require removal
- Shingles are warped and not flat enough for new installation
- Current materials are too thick and roofing nails can’t penetrate the layers
Along with the cost of labor to remove the old shingle roof, you’ll also need to pay for a dumpster to hold the material and a truck to haul it away. Removing your old roof can also extend the timeline to complete your roof installation.
Step 2: Checking the Roof’s Condition
Once your old roof layers have been removed and before the new roof installation process can begin, your roofer will evaluate the remaining structure to make sure there are no problems. It’s important that this step is done by a licensed contractor because they know what to look for and can do so efficiently.
The sheathing (also known as the roof deck) is one of the most important areas that your roofer will inspect. Because the sheathing provides the structural support for roof materials, it’s critical that this layer is in good shape and any needed repairs are made. Some things your roofer will look for prior to starting the new roof installation include:
- Damage to the roof deck
- Rotting wood on the roof’s structure
- Moist spots or water damage
- Termite damage
- Damage to ventilation system components
- Broken or clogged gutters
Step 3: Replace Your Roof’s Flashing
Your roof’s flashing is important because it prevents water from seeping in through cracks and openings. Flashing is made from metal such as galvanized steel or aluminum and is placed over your roof’s joints to direct water away from them.
If your flashing needs to be replaced, your roofer will remove the old flashing and install new flashing around any area of your roof where a joint exists. This includes around your ventilation components, chimney, dormers, drip edge or any other structure on your roof.
Step 4: Put In a Drip Edge
The drip edge is a piece of angled roof flashing that directs water away from the roof and into the gutters. Not only does it protect your roof from water damage by directing water runoff to the appropriate place, but it also protects your porch and basement. This small piece of roofing material is attached over the roof decking and the fascia board by the eaves and gables of your roof.
The drip edge is a crucial part of your roofing system because it also covers the carpenter’s gap (the gap between shingles and gutters) that can become home to unwanted pests. In addition, the drip edge stabilizes your roof and protects against ice dams.
Step 5: Put Down Roof Underlayment
The underlayment is another important component of your roof’s system. This felt barrier catches any rogue water droplets and pushes them away from your roof’s sheathing and frame, which prevents rot, mold and mildew.
Underlayment is installed under the drip edge and is fastened to your roof via cap nails placed every four to six inches. To create an airtight barrier, it’s installed both on the roof deck and below the roof’s ridge. Once both edges of the underlayment are fastened down tightly, your roof deck will have a protective water and ice barrier.
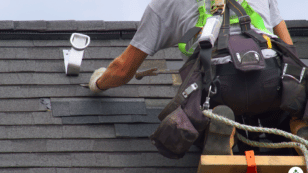
Step 6: Install Your New Roof
Next, your contractor will begin to lay down shingles to create the top layer of roof. Starting with starter shingles at the bottom and side of your roof, your roofer will continue to move upward laying shingles until your roof is finished.
For metal roofing, your roofers will first screw in the vertical edge and continue to screw in each vertical row until the roof is finished. This process ensures that your roof will remain flat and any places where water could pool will be eliminated.
Step 7: Gutter and Downspout Installation
Gutters play a major role in your roof’s functionality and health. Without a proper gutter system that’s designed to work with your roof, you may experience severe damage to your roof, your home’s structure and foundation, and the surrounding landscaping. If your gutters work as they should, you won’t have snow, ice or water damage to worry about.
Step 8: Inspect Your Work and Clean
The last step in the roofing process is to inspect the finished roof and clean up any debris that remains. Your roofing crew should gather up and remove any remaining debris and unused materials.
Before your roofers are done, your new roof will also undergo an inspection to ensure that it was installed properly and to make sure that no shingles are damaged or defective. Because a poorly installed roof has a shorter lifespan, this final inspection is critical.
What Is a Roofing System?
Your finished roof may seem sleek and simple, but a roof system is a complex structure with a number of major components, including:
- Ice and water shield: Weather-resistant first layer designed to protect your home against rain, water damage and ice dams
- Underlayment: Roofing felt second layer designed to make your roof’s structure stronger. It also protects against mold and UV rays
- Starter shingles: Shingles installed around your roof’s edge and fastened down so wind can’t lift them off
- Roof shingles: The shingles you see on your roof that protect your home against the elements
- Hip and ridge caps: Shingles lining the joints of your roof so that water drains easily off of edges and doesn’t penetrate into cracks and joints
Still Need a Professional Roofer?
Now that you understand the roof installation process, it’s time to find a reputable roofing company to expertly install your roof. Our recommended roofing providers are the best in the industry, so don’t hesitate to get your free quote today.
FAQ: Roof Installation Process
If you hired a professional contracting company to replace your roof, all you need to do is stay out of the roofer’s way. You may not necessarily need to leave your home during the installation process, but if you work remotely it may be best to find an alternative place to work during the day because roof replacement can be noisy.
There is no definitive timeline for your roof replacement, but homeowners can expect in the range of one to three days. The exact time it will take depends on the size and complexity of your roof and the number of workers on the roofing crew.
A roof system is made of up several layers of roofing material that together protect your home from the elements. Your roof deck system consists of an ice and water shield, underlayment, starter shingles, roof shingles and hip and ridge shingles.
There are two different types of warranties available for your roof: a material warranty and a workmanship warranty. The material warranty comes from your roof’s manufacturer and generally covers defective roofing materials. The workmanship warranty covers the labor that goes into installing your roof, protecting you against faulty workmanship.