 568k
568k  233k
233k  41k
41k  Subscribe
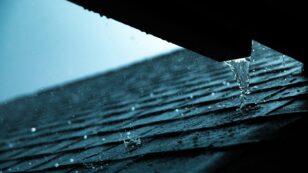
Gutter Downspout Extension: Homeowners Guide (2024)
Need to know how to install gutter downspout extensions? In this guide, you’ll learn:
- What are downspout extensions?
- What types of downspout extenders are there?
- How do you install gutter downspout extensions?
Each product and or company featured here has been independently selected by the writer. You can learn more about our review methodology here. If you make a purchase using the links included, we may earn commission.
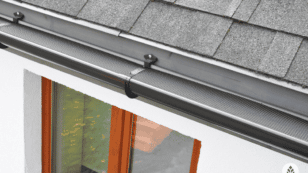
Gutter Downspout Extensions Guide
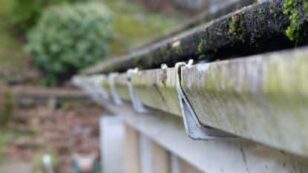
A gutter system is a critical part of keeping your home protected from damage. It collects rainwater and runoff from melting snow from your roof and directs it away from your exterior trim and foundation, where it can cause a multitude of problems.
Many homeowners have different types of gutter systems installed but fail to manage the runoff properly. Unfortunately, gutters and downspouts often aren’t enough to direct water effectively, and many homes should be fitted with downspout extensions that fit the size of their gutter as well.
What Are Downspout Extenders?
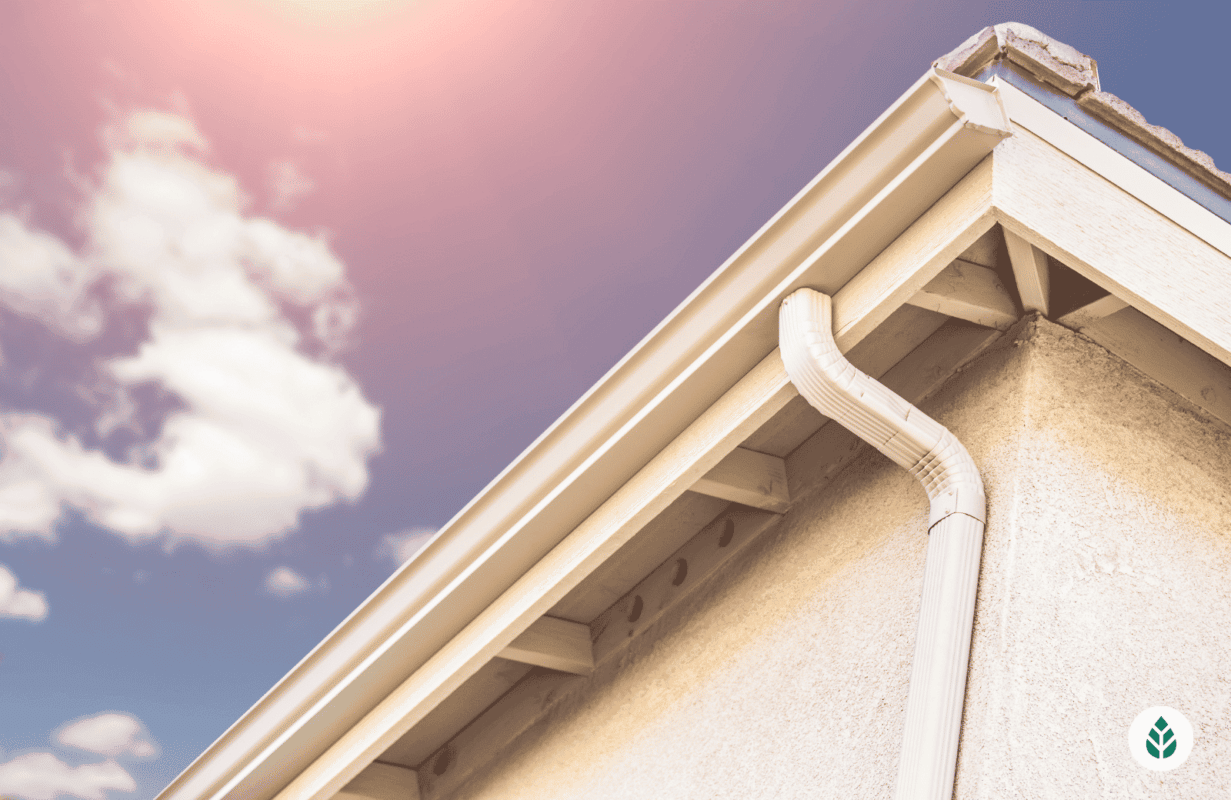
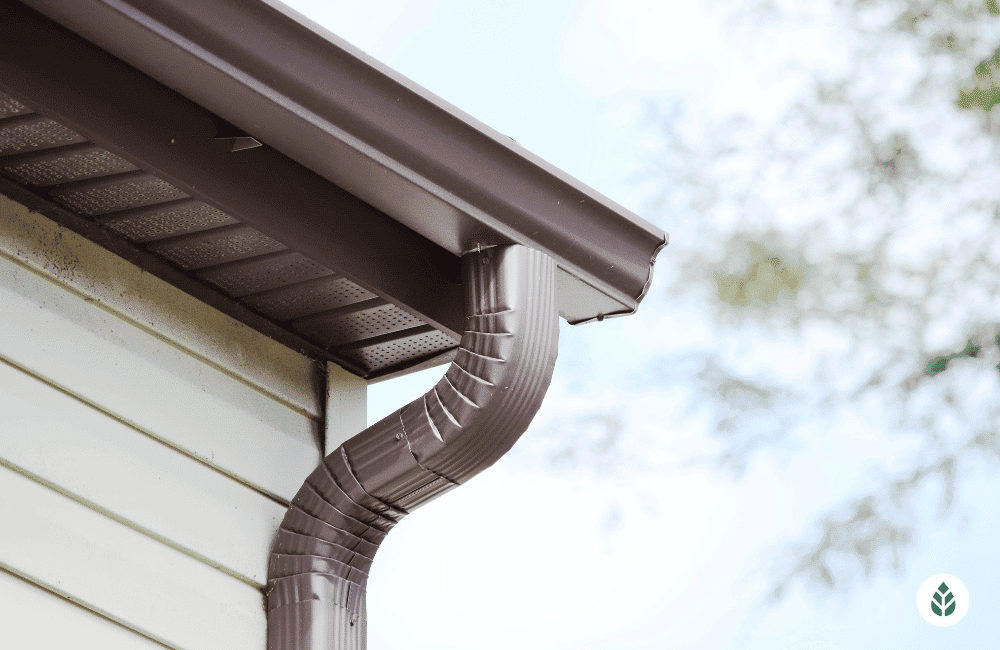
Downspouts are the vertical pieces of your gutter system that bring water down to the ground from the gutters up by the edge of your roof. Downspout extenders are exactly what they sound like: they connect to your downspouts so that the outlet for the water is further away from your home.

LeafFilter
Dedicated to Sustainability

Save 12% plus $250 off on gutter guards for your home. Seniors and Military save an additional 10%.
Average cost
Pros
- Made from sustainable materials
- Materials are recyclable
- Positive customer reviews
- Has green initiatives
- Competitive pricing
Cons
- Not DIY-friendly
MasterShield
Most Eco-Friendly Materials
Get a free estimate today!
Average cost
Pros
- Made from sustainable and/or recycled materials
- Materials are recyclable
- Lifetime and/or comprehensive warranty
- Lots of color and design options
- Has green initiatives
Cons
- Expensive products or installation fees
- Reports of clogging
- Made of non-recyclable materials
- Not DIY-friendly

HomeCraft
Most Versatile Design
New customers save 30%.
Average cost
Pros
- Offers pitched/diamond designs for better flow
Cons
- No stated commitment to bettering the environment
- Some negative online reviews
- Limited availability
Why Are Downspout Extenders So Important?
Downspout extenders might not seem terribly important. However, they provide critical benefits:
- Reducing the risk of foundation damage
- Eliminating water damage to your building
- Averting foundation leaks
- Reducing the risk of pest infestation and excess moisture
- Avoiding a flooded or waterlogged lawn
The purpose of your gutter system is to collect runoff from your roof and relocate it to an area that’s safe for drainage. Without downspout extenders, all the water collected by your gutters will drain right near the base of your home, which means all of the problems gutters are there to prevent can not only occur but be exacerbated.
Types of Downspout Extensions
There are a few different types of downspout extenders you can install on your home. We’ll discuss each of these briefly below and provide some insight into why each one might be best for your yard.
Aluminum Extension
Aluminum extensions are really just additional sections of downspout that extend from the 45-degree-angle joint normally toward the base of your downspouts.
They’re a simple and inexpensive solution to water discharging near your home, but they’re unsightly and can cause access issues, so they’re best reserved for areas where you can hide them in bushes or other landscaping features.
Plastic Extenders
Plastic downspout extenders — often called flexible downspout extensions — are even more affordable than aluminum ones. They connect to the very bottom of your downspout, so they won’t detract as much from the look of your yard.
However, they can still present a tripping hazard and aren’t entirely hide-able. Some extenders are flat, and while they still pose a tripping hazard, the low profile is less of a risk.
Some popular options that work well include:
- Amerimax Home Products Flex-a-Spout
- Frost King Tilt and Drain Downspout Extender
- Amerimax Home Products Flex Elbow
Splash Blocks
Splash blocks are mostly flat pieces of plastic or concrete that sit at the bottom of your downspout and disperse the water outward. These usually only move the runoff out a foot or two, so they don’t work well for heavy rain.
Roll-Out Sleeves
Roll-out sleeves are great because they remain rolled up and out of sight until it rains. Once rainwater begins to collect in the sleeve, it unfolds automatically to divert water away from your foundation.
These are one of the most popular no-dig residential downspout extension options.
Rain Barrel System
A rain barrel system consists of a large barrel that collects water from a downspout diverter. This system is eco-friendly and is especially great in areas where drought is an issue — the water can be used to irrigate your landscaping.
Underground Drainage
Underground drain pipes are one of the most common types of downspout extension. They’re highly efficient if installed correctly, and they’re fully underground, so won’t detract from the look of your yard and won’t present a trip hazard.
These systems are designed specifically to address the drainage from your downspouts. You may have heard of French drains, which are different. French drains are designed to handle waterlogged areas in your yard or areas where water may be seeping into your home. They also involve burying drainage pipes but in a French drain, the pipe is perforated and buried in a gravel-filled trench so the water can drain the length of the pipe rather than being discharged out the end.
How to Install Downspout Extensions
The process for installing downspout extensions depends largely on the type of extenders you want or need on your property. In the sections below, we’ll detail how to install underground drainage, as this is the most complicated and often the most effective and permanent option.
For a quick demonstration of how to install downspout extensions, check out this video below.
Step 1: Planning and Preparation
If you are a handy DIYer, constructing an underground drainage system for your downspouts can be a relatively easy and satisfying project, but planning and preparation is a critical first step.
First, you need to check with your municipality to see if you need a permit to construct an underground drainage system on your property. If you do, you’ll need to work with your municipality to agree on a routing and discharge spot for the water that complies with building and construction rules and regulations.
If you don’t need a permit, you’ll still need to plan the routing and discharge spot that doesn’t create a new drainage problem for adjacent property owners (which could expose you to a lawsuit) and doesn’t just move your existing drainage issue to a new location on your property — thereby creating a different problem for you to solve.
Safe planning and preparation will also involve making sure you have a clear area to dig. You don’t want to take the risk of running into underground utilities. You can call the 811 “call before you dig” hotline, which will connect you to your local call center.
Finally, you must ensure that your planned route is on the downslope, or the water will just pool in the pipes. If there is no natural downslope, you’ll create one by digging the trench deeper as you go, as we’ll discuss below. You’ll be planning for at least a one percent grade by allowing for a drop of one foot per every hundred feet of drainage (or about an inch for every ten feet).
Step 2: Gather Your Materials
Since the process is somewhat involved, you can save time and avoid frustration by gathering all of the materials you’ll need for the job before beginning. Below is a list of the tools you’ll need:
- Tape measure
- Spade or shovel
- Hammer (dead blow or small sledgehammers work best)
- Hacksaw
- Level
In addition to the tools, you’ll need to purchase PVC piping or drainage piping (also called corrugated drain lines). We recommend planning out the lengths and joints you need before buying anything (based on the route you’ll come up with in Step 3), as this will help avoid purchasing pieces you don’t need and having to go back to the store for additional material.
If you’re using PVC pipes, you’ll also need PVC glue.
Step 3: Mark Where Your Trench Will Be Laid
You can begin the process by marking out the route you want your drainage to follow, which will tell you where the pipes will need to be laid. We recommend using outdoor spray paint or hammering in stakes to delineate the entire system before proceeding on to the next step.
As we discussed in Step 1, one thing you’ll want to consider carefully is the area on your property where your system will drain. This will be addressed in any permits you need.
You should also take care to extend the connections to the downspout out about four feet from your house before installing any joints to redirect the drain line.
Step 4: Dig the Trench
Finally, you can begin digging the trench. To make the backfilling process easier later, we recommend removing dirt and placing it on a large piece of cardboard or on a large tarp.
The goal at this step is to dig the entire trench where your drain lines will run, but you need to make sure that the trench is deep enough and is sloped properly to direct the water appropriately.
The highest point of the drain line — which should be the end where it’s connected to your downspout — should be a minimum of about eight inches below the ground. The trench can be dug to a width of around six inches or wider if you’re installing wider piping.
The most crucial part of your downspout extension installation is getting the slope correct. All lines should slope away from your home and down toward the drainage area at a rate of around 1%. That means a downward slope of at least one inch for every eight to ten feet of pipe.
To get this part right, you can measure down from the top of the trench, or you can simply use your level on laid pieces of pipe to ensure there is an adequate slope.
You want to avoid the potential for freezing in drain lines that aren’t below the frost line. Freezing can be a major issue because ice dams can cause a backup in your system and overflow near your foundation. However, most systems won’t be handling enough water at any given time for this to be a major issue.
Step 5: Test Fit
Next, test fit your pieces to ensure that the system will go together as intended once you start gluing them together. To do this, you can follow the steps below:
- Lay out your pipe pieces in your trench
- Connect all lengths and joints without glue
- Confirm that the system will fit within your trenches once connected
- Double-check that the slope of all pipe lengths is at least one percent
- Confirm that the area to which you’re draining is prepped (see Step 6 below)
Step 6: Start Connection at the Downspouts
Once you confirm that your system fits together as intended, you can begin the permanent connections. Start at the downspouts, as this will be the only part of your system that must be precise. We recommend not gluing this portion, as you might want the ability to disconnect at a later time.
Step 7: Connect All Piping
Next, move away from your home by connecting piece after piece, gluing each and letting it cure before you move on. Triple-check that the slope of the drain lines hasn’t changed as you continue to lay down and glue pieces.
Finally, connect your lines to an existing drain line — if applicable — or set up a dry well or catch basin, which is a deep hole in the ground filled with gravel that can collect all of the runoff after it moves through the drainage system. As we discussed in Step 1, discharge points are likely to be regulated by your municipality, so check first. The point at which you plan to discharge your water may well be addressed in a permit.
Step 8: Test and Backfill
Finally, you can test your system. You can do this by adding water to the drain line via the top of your downspouts or via the portion of the drain that connects to the bottom of the downspouts.
Once you confirm that your system functions as you need it to, you can backfill the trenches. This process is made much easier if you took our advice and used cardboard or tarps to collect the dirt you removed.
You can tamp the area above the drain line, but make sure you do so with a hand tamp to avoid crushing the piping below. Many homeowners opt to put mulch and flower beds above the lines to help prevent foot traffic and mowing above the pipes.
Step 9: Protect Your System From Clogs
The fact that your system is underground means that clogs can be a pain to deal with, so we strongly recommend installing gutter guards along with your drainage system. High-quality leaf guards will allow your pipes to drain away runoff without getting stopped up with leaves, pine needles and other debris.
Wrapping Up: Do You Need Downspout Extensions?
For your rain gutter system to work as intended, your downspouts need to drain to an area that is far enough away from your home. Most homes benefit from at least four feet of clearance from the drainage site.
In many cases, this is accomplished using downspout extensions. These come in many varieties, but the best option is often an underground drainage system.
If you follow the steps above, you can install your underground drain line yourself. The process usually takes a day or two, and it will leave you with an effective drainage system that will protect your foundation and yard from roof runoff.
FAQ: Gutter Downspout Extension
Below, we’ll answer some of the most frequently asked questions we see about gutter downspout extensions and DIY installation.
Downspouts should extend at least four feet away from your home to avoid runoff causing foundation issues and water damage. However, you might need yours to extend further if your land naturally slopes toward your home or if you live in an area where very heavy rain is a common occurrence.
There are a few types of downspout extensions you can install, many of which are affordable and can be set up in a matter of minutes.
Roll-out sleeves are one of the best options for avoiding tripping hazards and for avoiding equipment that detracts from the appearance of your yard. Rain barrel systems are among the most eco-friendly home improvements you can make in terms of drainage, and they’re especially helpful in areas where rainfall is minimal.
However, the most effective rain management systems are underground drainage pipes to which your downspouts are connected. These take some time and effort to install and take careful thought and potentially a permit from your municipality, but they’re one of the best and most permanent options for proper rainwater management.
Yes, absolutely! All downspout extensions will provide some additional protection for your home’s foundation, although some options work better than others. A splash block, for example, is much less effective than an underground drainage system, but both will help move water away from your home, thereby helping to avoid issues like:
- Foundation cracks
- Leaks
- Increased humidity in your home
- Pest infestations caused by high moisture content in your home
- Mold formation due to moisture
Gutter downspouts usually curve out away from your home at the bottom but drop water just a few inches away from your foundation, which isn’t ideal. Adding gutter extensions is an easy way to relocate that runoff further away from your home.
The process of connecting your downspout extension will depend on the type of extension you’re using. Many of the more affordable options — like roll-out sleeves and plastic extenders — simply slide over the bottom portion of your aluminum downspout. Some have a simple connector or downspout adapter to keep them attached.
More complicated and effective options — like underground drainage systems — need to be measured, fitted and potentially permitted by your municipality before installation. The process outlined above should help you with this type of downspout extension.